Getting started
Stickers are a great way to express your personality, style, and creativity. You can use them to decorate your laptop, phone, notebook, or anything else you want. You can also make your own stickers and sell them online to earn some extra income. But how do you make stickers without any design skills or expensive software? The answer is simple: use Sticker Magic and Redbubble.
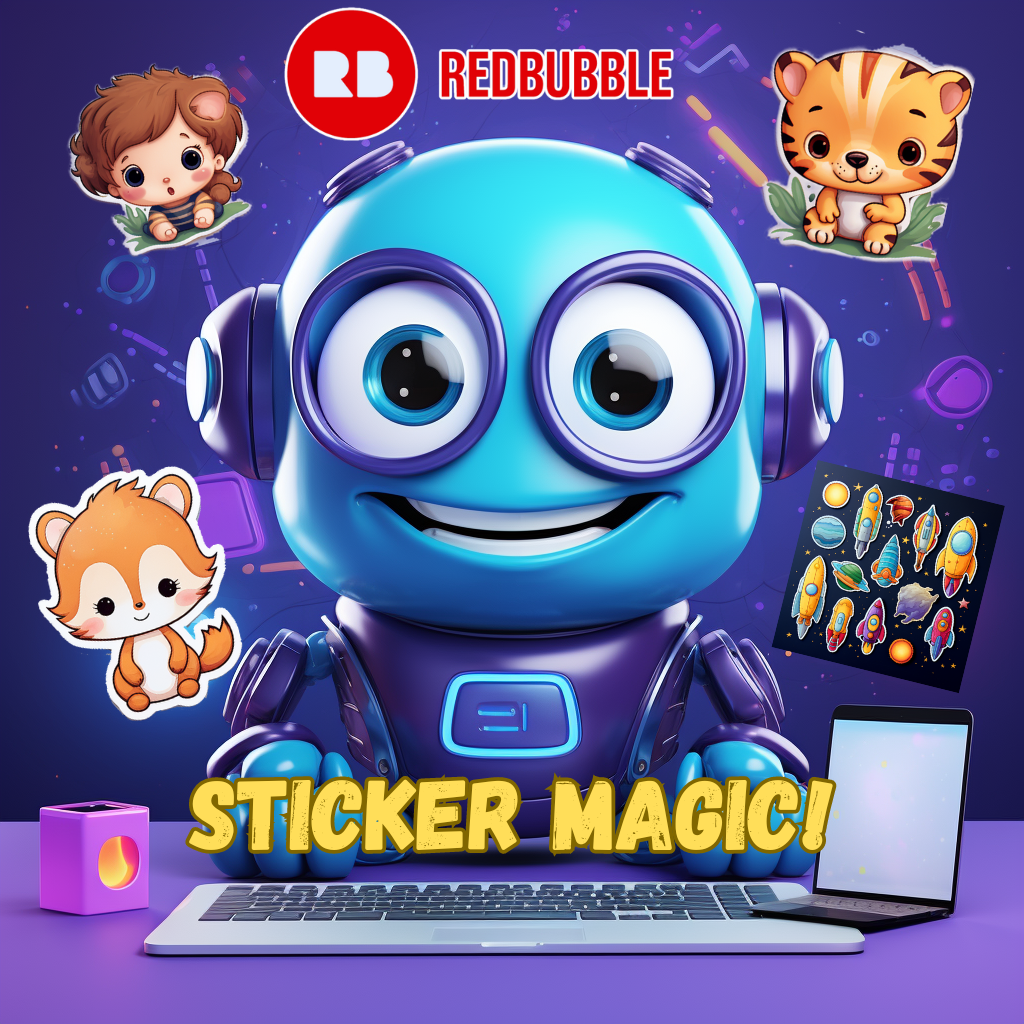
Sticker Magic is an amazing online platform that lets you create stunning stickers with just a few words. You can type in any idea, theme, or phrase, and the platform will generate a unique sticker for you in seconds. You can choose from different styles, such as 3D objects, pixel art, papercut, neon signs, and more. You can also edit the sticker, change the colors, add text, or apply filters. Sticker Magic is powered by artificial intelligence (AI), which means it can create stickers that are original, realistic, and high-quality.
Redbubble is a popular print on demand service that allows you to create and sell your own products. They have a wide range of products that you can choose from, including t-shirts, mugs, phone cases, and of course, stickers. You can upload your own designs or use one of their templates. Redbubble handles creating, packaging, and sending your products, so you don’t have to worry about inventory or shipping. You can set your own prices and earn a profit for each sale. You can also join a community of independent artists and discover new designs.
In this article, we will show you how to use Sticker Magic and Redbubble to make your own stickers in a few easy steps. Whether you want to make stickers for yourself or for others, this guide will help you get started.
Key Takeaways
| What | How |
|---|---|
| Make stickers with Sticker Magic | Visit Sticker Magic, click “Generate”, choose a style2, generate and edit your sticker3 |
| Make stickers with Redbubble | Sign up for an account4, upload your sticker image5, adjust your sticker size and shape6, add details7 and set your price8 |
| Benefits of making stickers | Express your creativity9, decorate your belongings3, promote your brand or cause10, earn some money11 |
Part 1: How to Make Stickers with Sticker Magic
The first part of this guide will show you how to make stickers with Sticker Magic. You will need an internet connection and a browser to use this online platform. Here are the steps:
Step 1: Visit Sticker Magic
The first step is to visit Sticker Magic on your browser. You will see a simple interface where you can enter your sticker description and choose your sticker style.
Step 2: Type in a Description
The next step is to type in a description of the sticker you want to make. You can type in anything you want, such as “a cute unicorn with rainbow hair” or “a funny quote about coffee”. Be as specific or as vague as you want. The platform will use your description as a prompt to generate your sticker.
Step 3: Choose a Style
The third step is to choose a style that matches your description. You can click on the drop-down menu to see more options. You can also click on the “Random” button to get a surprise result. The platform has a variety of styles to choose from, such as:
- 3D objects
- Pixel art
- Papercut
- Neon signs
- And more
Step 4: Generate Your Sticker
The fourth step is to wait for the platform to generate your sticker. You can see the progress on the top bar. The platform will use AI to create a unique sticker for you in seconds. The platform will also show you some similar stickers that you might like.
Step 5: Edit Your Sticker
The fifth step is to edit your sticker if you want. You can click on the “Edit” button to change the colors, add text, or apply filters. You can also click on the “Undo” or “Redo” buttons to undo or redo any changes. You can customize your sticker as much as you want until you are happy with it.
Part 2: How to Make Stickers with Redbubble
The second part of this guide will show you how to make stickers with Redbubble. You will need an internet connection and a browser to use this service. Here are the steps:
Step 1: Sign Up for Redbubble
The first step is to sign up for Redbubble if you don’t have an account already. You can sign up for free on their website. You will need an email address and a password to create an account. Once you have signed up, you can access your dashboard where you can upload your designs and manage your products.
Step 2: Upload Your Sticker
The second step is to upload your sticker image that you saved from Sticker Magic. You can click on the “Sell Your Art” button on the top right corner of the website. Then choose “Stickers” as the product type and click on “Upload New Work”. You can drag and drop your sticker image or browse it from your device. The website will automatically detect the transparent background of your sticker and show you a preview of how it will look on different products.
Step 3: Adjust Your Sticker
The third step is to adjust the size and position of your sticker image on the product preview. You can use the sliders to zoom in or out, or drag the image to move it around. You can also choose different shapes for your sticker, such as square, circle, or die-cut. Die-cut stickers are cut to the shape of your design, which can make them more attractive and unique.
Step 4: Add Details
The fourth step is to add some details for your sticker. You will need to add a title, description, and tags for your sticker. These will help customers find your sticker on Redbubble and also improve your SEO ranking. You should use relevant keywords that describe your sticker, such as “unicorn”, “rainbow”, or “cute”. You should also mention that you used Sticker Magic to create your sticker and include a link to the platform’s website. This will help you promote the platform and also show your customers how they can make their own stickers.
Step 5: Set Your Price
The fifth and final step is to set your price for your sticker. You can see the base price that Redbubble charges for each product. You can also see the profit margin that you will earn for each sale. You can adjust the profit margin by using the slider or typing in a percentage. The higher the profit margin, the higher the price and the higher the profit. However, you should also consider the market demand and the competition when setting your price. You don’t want to overprice or underprice your sticker.
Conclusion
You have just learned how to make stickers with Sticker Magic and Redbubble. You can use these tools to create and sell your own custom stickers with ease and fun. You can make stickers for any occasion, theme, or purpose. You can also make stickers for yourself or for others. You can also earn some money by selling your stickers on Redbubble.
Sticker Magic and Redbubble are a powerful combination that can help you unleash your creativity and make stickers that are original, realistic, and high-quality. Try it out today and see what you can create!
Leave a Reply